Showing posts with label project. Show all posts

Wednesday, October 2, 2013

Activity Board Project

 
So my wife Crystal originally keyed me onto the idea of making a sensory/activity like board for the kids. It seemed like a fun project. I found some inspiration from a couple other blogs but wanted to take it a step further. I decided that the doorbell I was to install and the light switches needed to actually work, otherwise my 9 month old and 1.5 year old would think it was lame. Yeah, I had big expectations to fill to say the least. Here are links to our inspirations: Here and here, I decided that I wanted to make a hybrid of the two!

After sawing out some crude switch holes, it was off to paint 
Kids checking out first wired circuit
Home Depot and Lowe's sell the fancy little 2'x2' plywood boards for pretty cheap. The most difficult thing was finding out the best way to do the wiring. After some trial and error I found the following and it was actually very easy. I bought 12V LEDs that had resistors built in (Radio Shack, about $2 a piece). I also bought some low voltage wire which was inexpensive. The real key to the wiring is twofold. It is essential to buy a battery platform that is prewired. I picked up a set of ten x 12V (carry 8 x AAs) battery containers for about $10 off Ebay. I had originally tried soldering the batteries in sequence with wires but it proved to be quite ineffective. (I wasn't able to get the soldering to hold very well originally without the battery containers and the lights would flicker a lot). Secondly I bought a bag of small wire caps to connect wires together and a bag of small clamps to adhere loose wires to the wood.

The electrical sequence should be as follows (although the switch could technically go anywhere):

12V Battery Source (+ end) >> (+) LED wire >>LED>> (-) LED Wire >> Switch >> 12V Battery (- end)

Trying a simple circuit using a single 9V Battery
*Remember if you do more than one LED than the LEDs should be wired in parallel so they each get 12V. If they are wired in sequence they will each take a separate portion of the voltage. (Example 4 LEDs wired in sequence on a 12V Battery would each use 3V, [12V/4=3V] this would not light the LED properly).

Everything else on the board is either held down via screws with nuts on the backside or secured into the 2x4 frame. Cutting an 8 foot 2"x4" will give you all of the frame pieces plus one extra. I used the leftover piece to put in the center of the middle of the plywood sandwich as this will keep the kids from breaking the plywood when they step in the middle. It worked great.
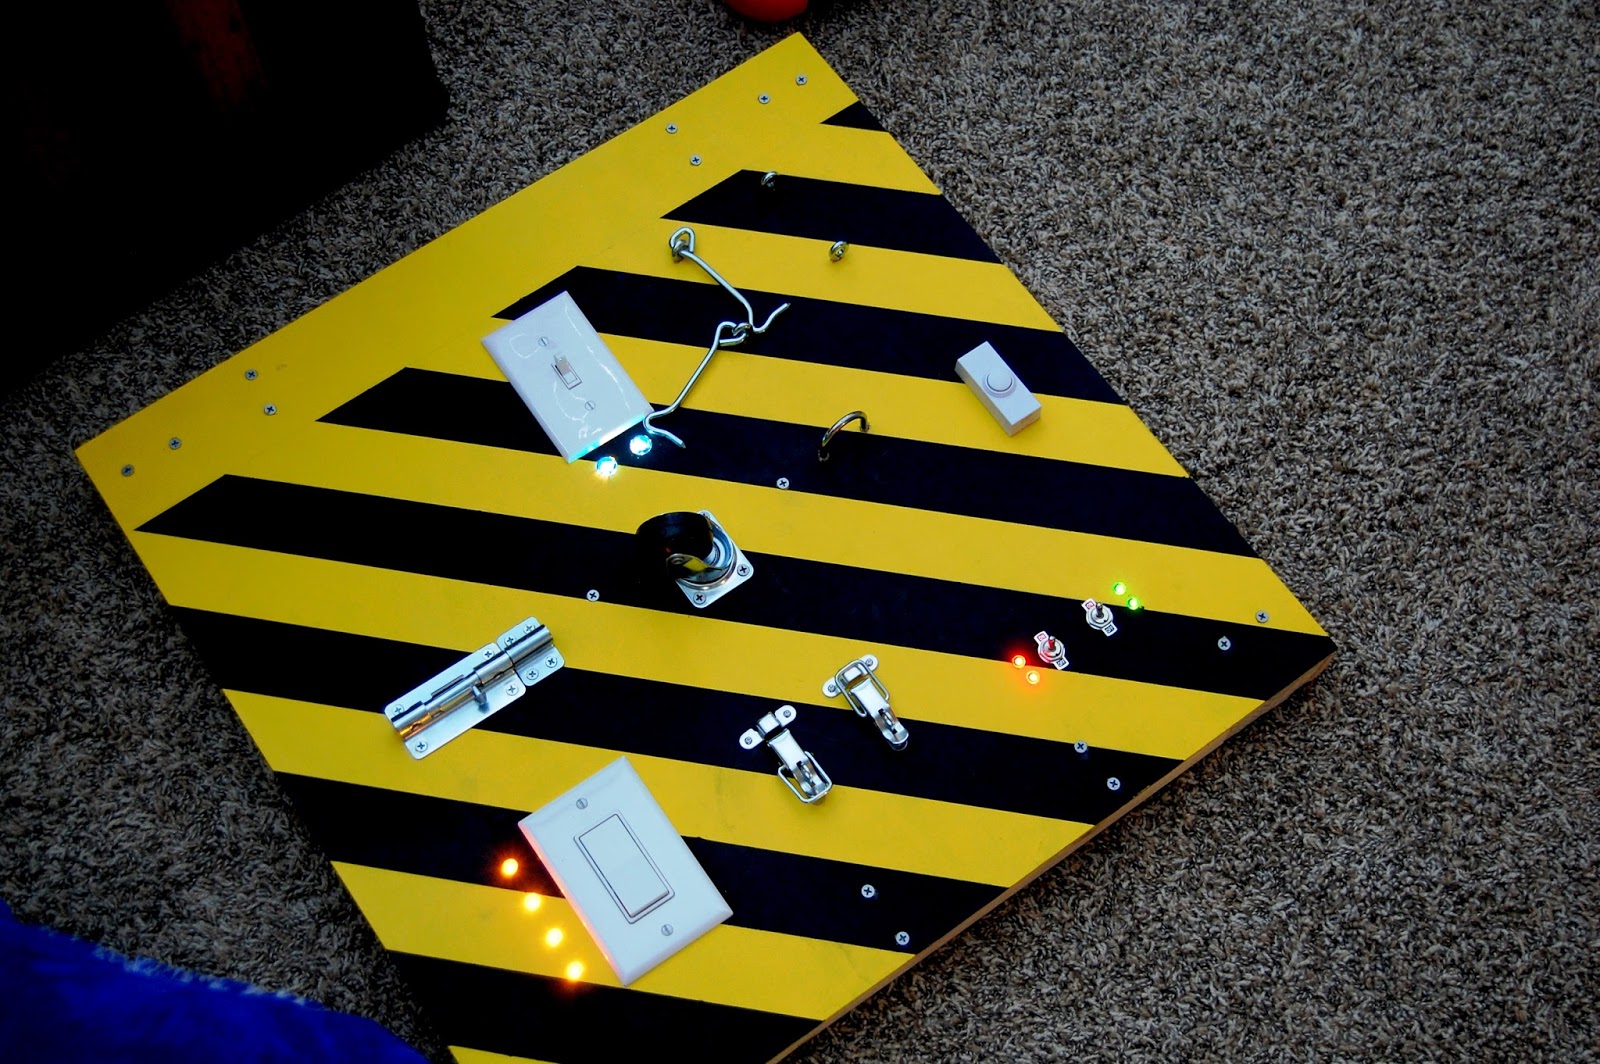
The project cost was probably around $50. It is fun and the kids absolutely love it. Their favorite parts are the doorbell (which I taped up to make more quiet) and the LED light switches. It's got room to grow and we are going to put some finishing touches on it. More to come!

Feel free to comment with any questions/comments!

Thursday, August 8, 2013

One Day Dresser Repurpose Project


Total Project Cost: $95
Tools: Electric Sander, Screwdriver Power Tool, Wrench Set, Small Crowbar 
Time: One day from conception to completion.

1. Project Buy dresser (this one cost $75 off of Craigslist) 
2. Remove drawers, clean, and remove handles with screwdriver. I also removed the feet for easier sanding and painting. 
3. Sand down finish (I used an electric sander for the grunt work and touched up the hard parts with a piece of sandpaper). 
4. Wipe down sanded dresser (This will allow the paint/primer to adhere better to the surface).
5. I removed the top center drawer and track for an entertainment opening. I had to remove the drawer track which needed some force. I then measured the space, bought some 1/4" interior plywood at Lowe's, let them cut it there in store, and screwed the boards into place. 
6. Paint with desired interior paint/primer. We used paint/primer in one from Lowe's. A quart of Valspar Satin Churchill White was more than enough.  
7. Use metal adhering spray paint for the handles Reattach handles and replace drawers.

Simple!